A leak under your kitchen sink is a stressful situation that requires quick action. We understand your concern about potential damage to your furniture and flooring. In this practical guide, you'll discover the various possible causes and simple solutions to repair this leak yourself, step by step.
Protecting you from damage is our mission!
Our expertise in water damage protection allows us to provide effective support. A leaking drain or damaged pipes require rapid intervention to protect your kitchen furniture.
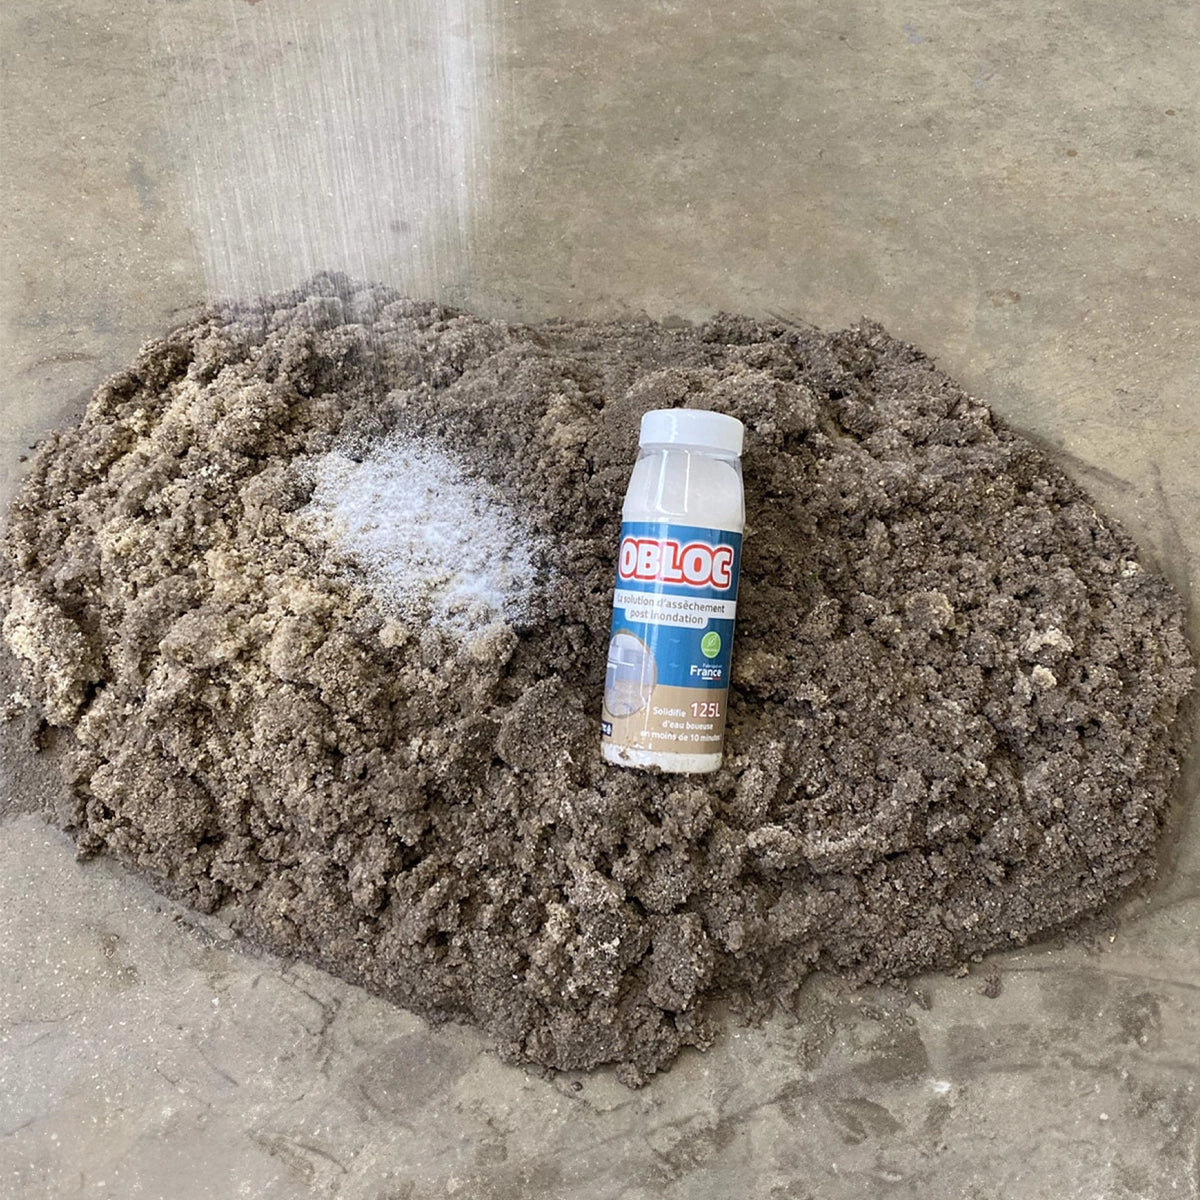
Our absorbent solutions such as innovative flood protection bags and flood protection bags guarantee you complete protection against flooding and water damage . Regular inspections of your installations allow you to spot warning signs such as a simple drip or rising odors .
For optimal protection, equip your shutoff valve with an early detection system. This first step to installing under your sink will alert you before future leaks occur and prevent emergencies.
Why is my kitchen sink leaking underneath?
Worn seals: the primary cause of leaks
THE Worn gaskets are the source of leaks in 80% of cases under a kitchen sink. These parts naturally deteriorate over time and with temperature variations, creating weak points at the connections.
The conical joint between the siphon and the PVC drain deserves special attention. Simply loosening the connecting bolts is sometimes enough to check its condition. Wear is evident by cracks or a loss of elasticity.
Preventive replacement of seals every 2 years effectively prevents leaks. This simple operation requires only the help of a wrench and multi-grip pliers . For optimal sealing, the application of a special sealant reinforces protection against infiltration.
Problems with aging plumbing
Over time, your plumbing undergoes natural wear and tear, which weakens the entire drainage system. Corrosion of metal pipes and deterioration of PVC pipes create weak points that are prone to leaks.
Daily temperature variations expand and contract materials, increasing the risk of microscopic cracks . Early diagnosis can identify these sensitive areas before a small leak appears .
The accumulation of limescale and residue in aging pipes gradually reduces their diameter. This partial obstruction generates excessive pressure that puts a strain on the fittings and accelerates their deterioration. To protect your furniture and other installations from flooding and water damage, don't hesitate to use inflatable flood bags , which are very easy to use and quickly installed.
The faulty siphon and its symptoms
A faulty siphon is manifested by characteristic signs that you need to know how to spot. The rise of nauseating odors in your kitchen is a first alarm signal, often indicating a rupture of the swan neck .
Unusual gurgling noises during evacuation and a Leaking fittings indicate a system failure. Slow flow or Water returns in the second tank also indicate a defective part .
To identify the source of the leak , examine the connection joints and the junction with the drain. The repairs needed vary depending on the severity: from simple tightening to complete replacement by a professional plumber .
The drain is loose or damaged
Moisture around your drain is often a sign of a leak in the drain. Insufficient tightening or worn components can quickly compromise your sink's drainage system.
First, check the rubber gasket located between the drain and the sink surface. Signs of aging, such as cracks or loss of elasticity, require immediate replacement. A new gasket costs a few euros and is easily found in specialty stores.
Tightening the nuts under the sink can sometimes resolve the issue. Use a suitable wrench without applying excessive force to avoid damaging the threads. Applying sealing tape to the threaded parts reinforces protection against leaks.
The right reflexes when faced with a water leak
Turn off the water supply immediately
Quickly locate the shut-off valve under your sink. This valve is usually located on the wall, near the supply hoses . Turn it firmly clockwise to stop the water supply.
If you can't find this valve or if it's blocked, head to your home's water meter . In an apartment, it's often located in the kitchen or bathroom. In a house, look for it in the basement or an exterior manhole.
Check the effectiveness of the shutoff by turning on your faucet. The absence of flow confirms that you have successfully isolated the affected area. Place a basin under the connections to collect any residual water from the pipes.
Protect your furniture with our absorbent solutions
Our specialized absorbent pads are your first line of defense against water damage. Strategically placed under the sink, these mats retain up to 20 liters of water per square meter.
Absorbent pads that perfectly fit the dimensions of your sink cabinet. Their non-slip surface keeps the mat in place while their multi-layer structure ensures optimal absorption of spills.

Locate the source of the leak precisely
Grab a flashlight and methodically examine the area under your sink. Any signs of moisture or water droplets will point you to the source of the problem. Run your hand along the fittings to check for any leaks that may be invisible to the naked eye.
Dry the entire area thoroughly with paper towels. Then run the water in the sink and watch carefully for the first drops to appear. This technique allows you to quickly locate the exact point of the water leak .
For even more accurate detection, sprinkle talcum powder on suspect areas. The moisture will leave telltale traces on the powder, allowing you to definitively identify the source of the problem before starting the necessary repairs.
How to fix a leak under a kitchen sink?
The essential tools for repair
For a successful repair, equip yourself with the right tools for each situation. An adjustable wrench and a pair of multi-grip pliers will allow you to easily handle the nuts and fittings under your sink.
A bucket and absorbent cloths will protect your furniture during the cleaning process. Teflon tape will ensure a perfect seal for threaded connections.
Also remember to bring a cutter to adjust the new seals to the correct size.
Replacing the seals
Replacing a faulty seal requires a precise method. Start by thoroughly cleaning the location of the old seal with a dry cloth to ensure a clean surface.
Choose a new gasket suitable for the dimensions and type of connection concerned.
Apply a thin layer of sealant to the mating surface before positioning the new gasket. Moderate tightening of the nuts is sufficient - overtightening could damage the gasket and cause a new leak.
In the event of a large, undetected leak, water can seep in and cause a flooded crawl space that is difficult to dry out.
Repair of the drainage system
Poor drainage often indicates a malfunction in the drainage system. A thorough cleaning of the pipes can remove the deposits responsible for leaks.
Disassembling the siphon requires some precautions. Place a large container under the work area and carefully unscrew the fittings.
Recurring seepage can also flow into unseen areas such as a flooded crawl space , causing mold and structural damage.
Installing a new drain
Start replacing your drain by applying sealant around the base. This preparation ensures perfect adhesion between the surfaces.
Next, position the new drain in the sink's drain hole. Make sure the top is properly aligned with the bottom of the sink. Improper alignment could compromise the seal.
Solutions for leaking pipes
Seal a leak in a pipe
When faced with a leaking pipe, applying self-fusing tape is a quick and effective solution. Dry the affected area thoroughly before wrapping the tape tightly around the leak, keeping it taut.
Specialized epoxy putties provide a more durable repair. Mix the paste until it is a uniform color, then apply it generously to the damaged area.
A repair sleeve ensures optimal sealing for major leaks. Position it around the pipe and tighten the clamps at the ends. This temporary solution will give you time to calmly arrange the permanent replacement of the damaged section.
An overlooked leak can sometimes lead to much more serious damage, especially in the lower rooms of your home. Discover our advice if you have a flooded basement .

Change a faulty fitting
Disassemble the damaged fitting after placing a mop under the work area. A careful examination of the contact surfaces will allow you to identify any signs of corrosion or wear.
Choose a new fitting with the same dimensions as the old one. Applying Teflon tape to the metal threaded parts ensures optimal sealing. For plastic fittings, use a suitable rubber seal.
Final tightening is done manually first. Then use a suitable wrench for a maximum of one-quarter turn. Overtightening could crack the fitting or crush the gasket.
Replace a feed hose
Start by turning off the water supply at the shutoff valves located under the sink. An adjustable wrench and a clean cloth will be enough to unscrew the nuts at the ends of the old hose.
Measure the required length accurately before purchasing the new hose. Choose a braided steel model, which offers greater durability over time. Check that the fittings are compatible with your existing installation.
Screw on the new hose, starting at the faucet end. Form a slight U-shaped curve to avoid excessive tension. Moderate hand tightening followed by a quarter turn with the wrench ensures optimal fixation without the risk of crushing.
Preventive maintenance of your sink
Regular inspection of the siphon
A well-maintained drain effectively prevents leaks under your sink. We recommend checking it monthly to spot the first signs of wear or deterioration.
Carefully inspect the trap fittings and seals for signs of moisture or corrosion. Regular visual inspections can quickly detect weakened areas before they cause significant damage.
Smart water sensors, strategically placed around the drain, alert you as soon as the first drops appear. This continuous monitoring gives you peace of mind and allows you to take action before a simple leak turns into a major disaster.
Checking joints and fittings
Keep your joints and fittings in perfect condition with regular inspections. Gently wipe a paper towel around the connections to detect any signs of moisture. This simple method quickly reveals weakened areas that require attention.
Tighten the connecting nuts moderately using a suitable wrench. Overtightening may damage the seals or crack the plastic fittings.
Always replace gaskets that show signs of aging, such as cracks, deformation, or loss of elasticity. Choose models that are appropriate for your installation to ensure a long-lasting seal.
Cleaning the drainage system
To maintain the effectiveness of your drain, adopt a weekly cleaning routine using hot water and baking soda. This natural method effectively dissolves greasy residue without damaging the pipes.
Regularly pour coffee grounds down the drain to absorb grease and neutralize unpleasant odors. Using a soft brush can help remove deposits that have accumulated around the drain.
Harsh chemicals should be avoided as they weaken seals and fittings over time. Instead, opt for eco-friendly cleaning solutions specially designed for gentle and long-lasting cleaning of your pipes.
Leak under sink: who should repair it?
Tenant Responsibilities
The law clearly defines the tasks you are responsible for maintaining your sink. Replacing worn seals and regularly cleaning the drains are part of your daily responsibilities.
Routine maintenance also includes changing the connecting hoses and moderately tightening the connections. A simple monthly check can help you anticipate problems and avoid costly repairs.
Minor repairs like replacing a faucet gasket or unclogging a drain are your responsibility. Document your work with photos and invoices to clarify responsibilities in the event of a dispute.
Owner's Obligations
Law No. 89-462 of July 6, 1989 establishes the owner's responsibilities regarding major repairs. Leaks related to the age of pipes, construction defects, or poor workmanship are the owner's responsibility.
The owner must respond within a reasonable time after reporting a major leak. A 15-day turnaround time is generally accepted for standard repairs, but urgent situations require faster action to prevent further damage.
Complete renovation work on the plumbing system, replacement of built-in pipes and repair of defective installations are also his responsibility.
Special cases and disputes
When faced with persistent leaks, mediation remains your best option for resolving disagreements between tenants and landlords. A detailed joint report, accompanied by photos and invoices, facilitates dispute resolution.
The Departmental Conciliation Commission offers a free forum for dialogue to clarify responsibilities. This approach often avoids lengthy and costly legal proceedings.
A prolonged leak under the sink can also silently spread to lower levels. In some cases, it's a basement . flooded that we discover first.

When to call a professional?
Situations requiring expertise
The complexity of some leaks requires the intervention of a professional plumber . Signs such as a persistent moldy smell or traces of moisture on adjacent walls signal a potentially serious problem requiring in-depth expertise.
Recurring leaks despite your repair attempts often indicate a more complex plumbing system malfunction. An accurate diagnosis will help identify the root causes and avoid superficial repairs.
An unexplained drop in water pressure or abnormal temperature fluctuations can also reveal hidden problems in your pipes. In these cases, only an expert can guarantee a lasting and secure repair.
Choosing a Qualified Plumber
Selecting a competent professional begins with checking their certifications and insurance. A qualified plumber has the necessary certifications to work on your installation and guarantee their work.
Request several detailed quotes to compare the services offered. A good contractor takes the time to examine your system and explain the necessary repairs in detail. Connected detectors will help you document leak history to facilitate diagnosis.
Choose professionals recommended by those around you or with verified customer reviews. Recognized expertise and availability for emergencies are essential criteria in your choice.


Leave a comment
This site is protected by hCaptcha and the hCaptcha Privacy Policy and Terms of Service apply.