
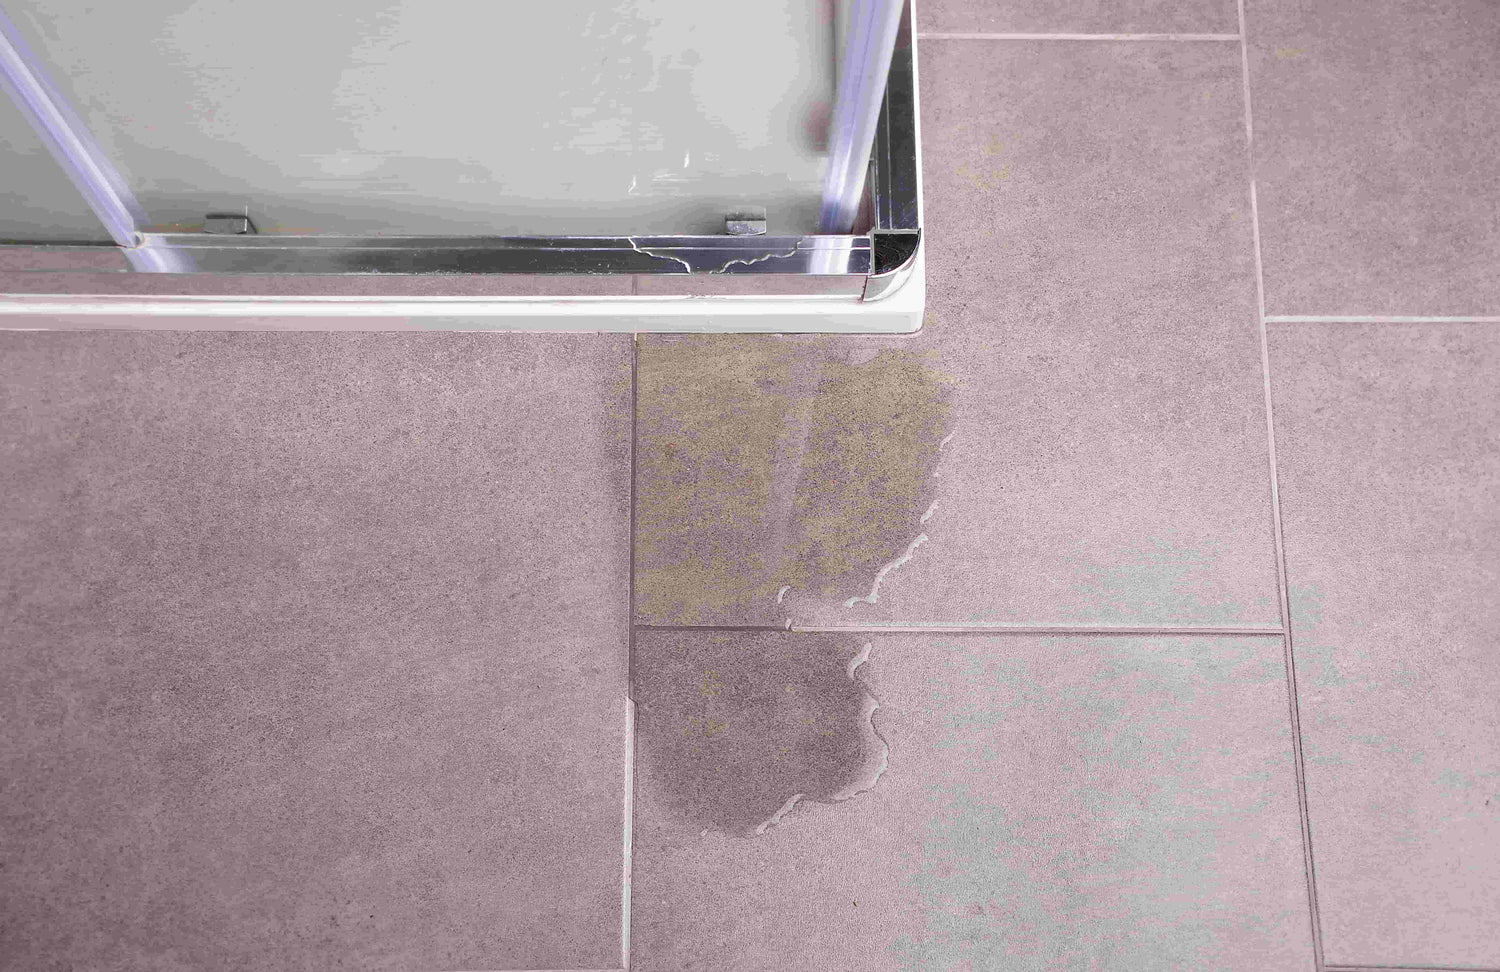
You enter your bathroom, step onto the floor of the walk-in shower, and discover that the water isn't draining properly: it's pooling under the shower head, running down the wall, and eventually seeping out from under the shower base. Between a sneaky shower leak, mold growth, and the fear of a warping floor, every drop counts. At OBLOC® , experts in flood and water damage solutions, we guide you step by step to diagnose, repair, and prevent these incidents.
Waterproofing and DTU bathroom waterproofing
The waterproofing of a walk-in shower is based on compliance with the DTU (Unified Technical Document) for bathroom waterproofing. Implementation begins with the installation of a waterproofing complex covering the floor, the shower tray, and the walls, according to the rules of the art. If the tiles and the seal of the door or shower enclosure are not perfectly installed, or if the seal between the shower tray and the wall is defective, water will seep under the tiles, causing cracks, damp patches, and, eventually, the floor to leak. The slope of the floor must be calculated to ensure flow towards the trap or drain pipe without stagnation, otherwise water will persist under the tray, promoting wear on the joints and the proliferation of fungi. Also remember to slip an OBLOC® absorbent bag under the shower tray to catch the first drops in case of emergency.
How to waterproof a walk-in shower?
To waterproof your shower, start by checking the minimum 1.5% slope that directs water to the drain. Apply a primer before installing a liquid waterproofing kit or bitumen felt, covering the shower tray, corners, and bottom of the walls. Then install the tiles with a waterproof sealant and a suitable silicone sealant. Finally, test by pouring several buckets of water exactly as in our aquarium leak guide to detect any residual drops before closing the shower enclosure or door.
Shower Components and Leak Points
Any part of your installation can be the cause of a shower leak: the mixer tap, the column, the hand shower, or the shower head. A poor connection between the column and the wall, a worn internal seal, or damaged threads cause drips under the shower head and a leak towards the shower tray, resulting in infiltration under the shower tray. A poorly sealed shower drain, sometimes replaced by a hypothetical DIY drain replacement, creates a water passage on the shower floor, which will then migrate under the tiles. Even a poorly installed or crushed drain pipe causes a backflow.
Why is my shower leaking from the bottom?
Leaks from below often indicate a cut or crumbling silicone seal around the drain, or a leaky flange. Inspect the underside of the shower: if dirty water is continuously seeping from the base, remove the shower drain, check the seal, and replace it, respecting the height of the shower tray. A tradesman may be needed to access the underside and reattach the connection.
Diagnosis and search for the leak
Before any intervention, the water entry point must be detected. After removing the door or the cabin, run water from the shower head and observe the flow behavior. A poorly executed walk-in shower will leave water stagnating at an angle; the column or mixer will produce a localized leak behind the wall if the rear connection is faulty. Using an endoscopic camera or a flat mirror allows you to explore the under-basin, the siphon, and the drain. The slightest drop spotted at the junction between the shower tray and the wall indicates the origin: a missing or damaged seal, or cracked tiles.
What to do if there is a leaking shower pipe?
If the water is coming from an internal pipe, turn off the general supply, dry the area with absorbent products such as our OBLOC® absorbent socks , then remove the baseboard or plinth to access the pipe. A compression fitting or an additional sleeve can quickly seal the leak. For a lasting result, replace the affected segment according to the standards, then restore the watertightness under the shower tray.

Repairs: from a simple patch to calling a tradesman
For minor leaks, the repair begins by replacing the silicone seal, applying epoxy resin to the tile cracks, or changing the drain if it is leaking. Make sure the drain flange is properly screwed in and that the flat gasket is in good condition. For more complex leaks in front of the drain, calling a certified craftsman is recommended. They will be able to diagnose a structural leak, recalibrate the slope, or replace the shower tray with a model that complies with the Spec Sél standard and DTU requirements.
What causes a shower mixer to leak?
A leaking mixer tap can be caused by worn internal seals, a damaged cartridge seat, or a loose fitting. By disassembling the mixer tap, replace the cartridge and O-rings, and tighten the fittings. If the problem persists, the entire column may need replacing, especially if the part is old or improperly installed.
Tiles, shower floor and cracks
Shower tiles, whether floor or wall coverings, must be laid on a perfectly flat surface with a regular slope. Cracks in the tiles or cement joints expose the underlying waterproofing. To remedy this, remove the affected tiles, apply a waterproof coating to the surface, re-install the tiles with a suitable adhesive, and then renew the joints. This prevents the growth of mold and excessive exposure to moisture in the room.
Protection and prevention systems
Beyond repairs, there are additional protection systems: sealing strips to stick on corners, liquid membranes to apply before tiling, OBLOC® kits to contain or absorb overflows, or extra-flat shower trays with integrated edges to channel water. These best solutions limit the risk of leaks and simplify maintenance. For a tenant, regular maintenance (checking the mixer tap, shower head, and drain) and prompt notification to the landlord or insurance company can prevent damage and the ruin of the room.
Insurance, tenant and responsibilities
Shower leaks often involve the tenant or landlord's liability. The tenant must report the leak as soon as it appears and carry out minor repairs (replacing the seal, cleaning the drain). For more extensive work, the landlord or property manager must call a professional. Insurance coverage depends on the source: normal wear and tear of the seals is the tenant's responsibility, while a construction defect or an original watertightness defect (not in accordance with the DTU) is covered by the professional's ten-year warranty.
No more fear of your walk-in shower leaking
A shower leak may seem trivial, but it often reveals a shower installation fault, an old seal, or cracked tiles, which can compromise the long-term watertightness. By accurately diagnosing the source of the leak, applying appropriate solutions (replacing the seal, sealing cracks, reviewing the slope, or replacing the shower tray), and calling a professional if necessary, you will achieve lasting results. From checking the shower head and mixer tap to monitoring the drainpipe, every detail counts to ensure you can enjoy your walk-in shower with peace of mind, without any stray drips.


Leave a comment
This site is protected by hCaptcha and the hCaptcha Privacy Policy and Terms of Service apply.