You walk into your living room and discover a puddle near your furniture: a leaking aquarium has just transformed your room into a nightmare. Between the threat these drops pose to your floor, the risk of moisture under the furniture, and the fragile life of your aquatic plants and fish, this major problem should not be underestimated. We will explain in detail how to diagnose the incident, seal the breach, repair your tank, reinforce your installation, and anticipate any future leaks, whether it's a new aquarium or one that has been in use for several years.
Silicone and gasket: Seal a new aquarium and detect the leak using the soap trick
When your new aquarium is already leaking, the old seal or poorly installed sealants are often the culprit. Under the pressure of the water, small leaks appear, barely visible to the naked eye. To pinpoint the location of the leak, spray a soapy mixture on the outside of the aquarium: air bubbles appear where the water is escaping. This tip saves you from completely emptying the tank and prevents any misinterpretation between leak and condensation. Then, equip yourself with a silicone gun and a sealant specially formulated for aquariums, without substances toxic to wildlife. After drying the crack with a cloth, apply a bead of silicone, making sure to carefully fill the leak area between the glass and the glass panels. Let it dry for 24 hours, then perform a gradual test by pouring warm water to check the seal. This method is identical to that used to locate leaks under kitchen sinks.
Repair without completely draining: reduce water pressure and save fish
The most effective repair is to partially drain the water down to the leak level, thus avoiding unnecessary exposure of your fish to a transfer to a temporary tank. This technique reduces the water pressure on the crack, preventing it from widening. By lightening the tank, you make it easier to adjust the silicone bead and allow the product to adhere better. However, if you are worried about disturbing your fish, an external micro-pump can maintain a minimum volume while you intervene. This discreet solution is positioned under the cabinet, automatically triggering to save fish in the event of a rapid drop in the level, and giving you time to combine sealing and leak testing without stress.
CO₂ detection and alarm: intervene before water spreads
It's not always easy to distinguish a nascent leak from simple condensation caused by a heat lamp. That's why some enthusiasts install a CO₂ sensor coupled with an alarm, which detects an abnormal increase in dissolved gas in the water leaking out of the tank. When a micro-leak occurs, air infiltrates, locally altering the CO₂ concentration and triggering the alarm. This early warning system ensures that a significant stored risk doesn't accumulate under the furniture, since you can act before the floor is seriously damaged.
How do I know where the leak in my aquarium is coming from?
To locate the leak, start by drying the outside of the aquarium with a lint-free cloth, then spray soapy suds on each glass panel. Air bubbles will immediately appear at the leak location, guiding you to the precise area to treat. To confirm it's not condensation, observe if the moisture forms a puddle under the cabinet over time—if so, you're treating a leak, not an effect of the higher temperature generated by the heat lamp.
Why is my aquarium leaking from the bottom?
The bottom of your tank is under the greatest stress, as the water pressure is at its highest. A recessed joint, or poorly distributed sealant, creates a slight opening under the weight of the water. Over time, micro-movements in the structure and temperature variations weaken the silicone, especially if it was not applied evenly during installation.
Repairing a crack: razor blades, patching, and gentle testing
When the crack is too narrow to be sealed directly, gently slide one or two razor blades through to slightly widen the gap without damaging the glass. This preparation allows the silicone gun to penetrate better and ensure perfect adhesion. After application, allow the product to dry away from vibrations and splashes, then gradually fill the tank, monitoring the leak level. A gradual test limits the risk of new leaks and guarantees a lasting repair.
Why is my aquarium leaking water even without a visible crack?
Beyond cracks, water loss can result from convection under the heat lamp, which heats the surface, causing fogging and slight internal runoff. If evaporation is the cause, the water won't reach the bottom, settling only on the inside of the aquarium. To check, wipe the interior glass: if the water reappears without forming a puddle, you don't have a leak.
OBLOC design solution: sausages, absorbent bags
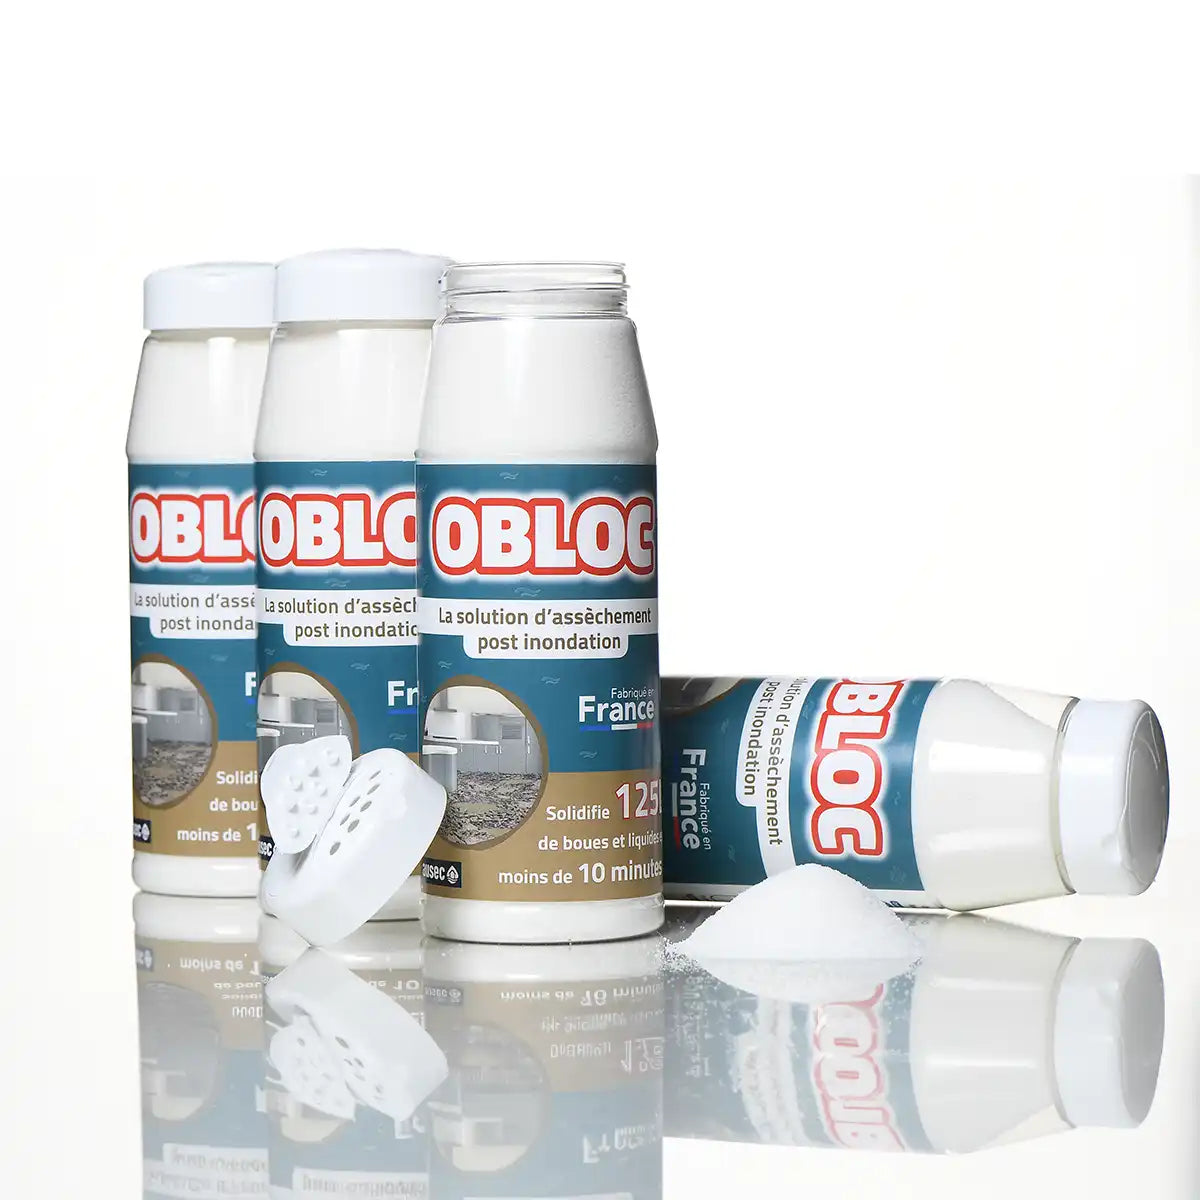
To avoid worrying about the moment a leak occurs, equip yourself with permanent protection under your furniture. Our super-absorbent pads are placed at the foot of the furniture and effectively contain the slightest leak. They also come in the form of bags , to form a solid barrier. Placed so as to cover the entire surface underneath, they limit water infiltration before you even have to intervene. This passive protection works continuously, without maintenance, offering unparalleled peace of mind.
What should I do if my aquarium still leaks?
If, despite your precautions, a leak occurs, start by isolating the tank by turning off the filtration and lighting. Immediately transfer your fish and plants to a second tank prepared at the same higher temperature and chemical parameters. Then dry the crack in the leak area, remove the old, weakened seal using razor blades, and then apply a freshly cut bead of silicone from the silicone gun. Allow the required drying time, then perform a dry test and finally a slow refill to verify that the leak is permanently sealed.
Long-term maintenance and prevention: preserving your seals and the health of your aquarium
Beyond emergency response, thoughtful prevention includes periodic maintenance of seals and sealants. Consider replacing the silicone every two years, even if there are no visible signs of leaks, to maintain an optimal seal. Clean the exterior of the aquarium with a soft cloth and regularly check the glass and panels for micro-cracks. Adjust the power of your heat lamp to prevent excessively high temperatures and condensation. If you have a CO₂ detector and alarm, test them quarterly to ensure they are working properly.
Aquarium: leak or condensation?
To differentiate a real leak from condensation, observe if the moisture leaves a trace on the floor. In the case of condensation, the fog remains stuck to the inside of the aquarium and disappears as soon as the temperature drops. In the case of a leak, the water inexorably accumulates under the cabinet, forming a lasting puddle that requires rapid intervention.
Never be caught short again
An aquarium leak can occur without warning, but you can anticipate it. By combining a rigorous diagnosis (soap test, refining the breach using razor blades), meticulous repair (application of silicone and sealant according to the rules of the art) and permanent OBLOC® protection under your furniture, you guarantee the longevity of your installation and the preservation of your habitat. Your fish will continue their aquatic dance in complete peace, while your floor and your decoration will remain safe from damage.


Leave a comment
This site is protected by hCaptcha and the hCaptcha Privacy Policy and Terms of Service apply.