
You open your window after a storm and notice that water is seeping under the sill, revealing damp patches on the edge and seepage along the window frame. This water infiltration is not a minor issue: it can lead to rotting of the wood of the window frame, weaken the thermal insulation, and reduce the lifespan of your exterior joinery, whether it is a French window, a bay window, or a PVC window. To avoid this damage, you need to understand the origin of the problem, apply technical solutions that comply with best practice, and know when to call a professional to activate the ten-year warranty and the insurance charge.
Waterproofing: the foundations of a successful installation
The first step in combating water infiltration is to ensure the sill is perfectly waterproof. When installing, the joinery should be installed with the window level slightly inclined outwards, creating a slope of approximately 3% to channel rainwater. Without this slope, any heavy rain will run down to the sill, accumulate, and find its way under the threshold.
To seal the sill, neutral silicone sealants are used, laid continuously in a clean groove, free of dust or old sealant residue. Using a spatula, the bead can be smoothed and bubbles eliminated, ensuring perfect adhesion between the sill and the wall. If there is no rejingot, this silicone barrier becomes vital to maintain the seal. If it is omitted or poorly done, water will seep in without encountering any resistance, quickly causing damp patches and, ultimately, rotting of the wood.
Door threshold: the critical point of French windows
Patio doors are particularly vulnerable to runoff. The door sill, often made of aluminum or PVC, must incorporate a suitable drip stop: a profile whose geometry deflects drops outward. Without it, water beads under the sill, runs along the facade, and seeps behind the woodwork.
The drip catcher must have an overhang of at least 10 mm and be mechanically secured with stainless steel screws. Its installation, in accordance with the rules of the art, prevents water from circulating under the threshold, causing permanent runoff of water at the bottom. These infiltrations cause damage to the floor level of the lower floor, generating mold and health risks. For immediate protection, you can slide an absorbent rod under the edge.

Bay window threshold sealing: large format, big challenges
Bay windows present an additional challenge: their considerable surface area traps more water and wind. To ensure the bay window sill is watertight, the support profile is systematically supplemented with a water-repellent aluminum apron and a water-repellent treatment of the natural stone or concrete. This solution repels water and preserves the thermal insulation of the home.
Silicone seals should be replaced every five years, even if there are no visible signs of leaks, as UV rays and heat eventually impair their elasticity. If these preventative measures are neglected, micro-cracks will allow water to leak through, leading to major repairs later on.
Infiltration: Understanding Weaknesses
The term infiltration covers any uncontrolled passage of water through the frame. The most common defects are faulty installation of the profiles, incorrect installation of the seal, or the absence of a rejingot. Upon completion of the construction site, a careful examination often reveals areas where the silicone does not adhere or gaps of a few millimeters between the frame and the wall.
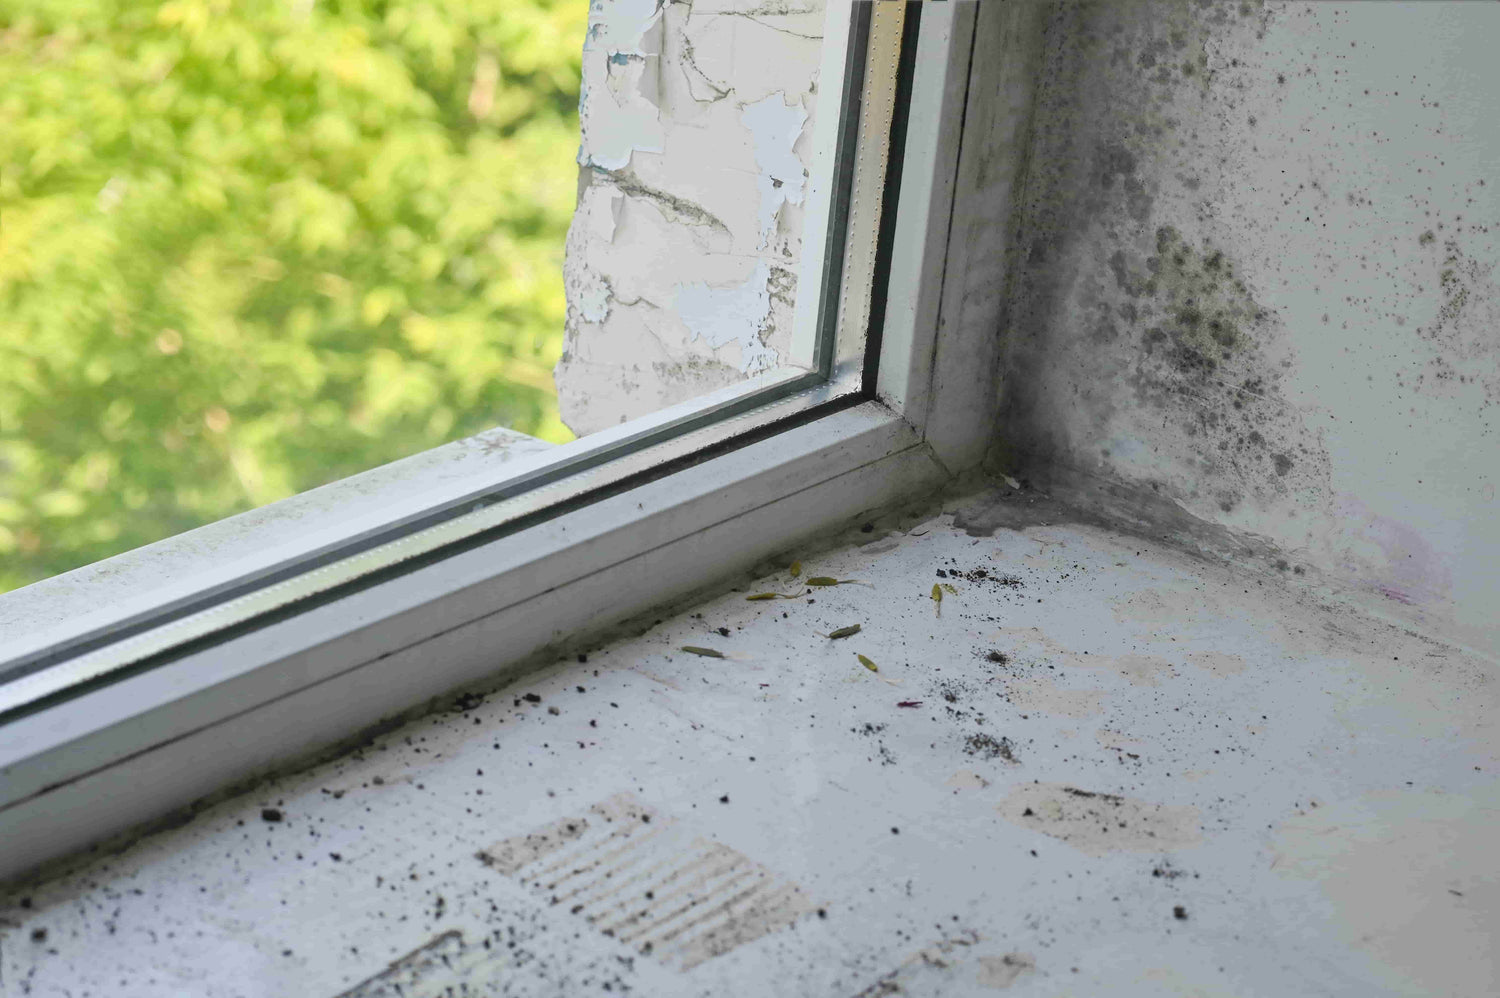
These deficiencies cause rising damp, visible on the interior wall in the form of damp patches, sometimes several days after the downpour. The longer the water stagnates, the greater the risk of damage to the plaster and wood. Before any repairs, the source of the leak must be precisely diagnosed. The defects are often located at the frame/wall junction: faulty installation of the profiles, poorly applied silicone or lack of rejingot cause capillary rise visible in the form of damp patches several days after the downpour.
A simple diagnosis consists of drying the area, spraying with soapy mixture and looking for bubbles, a method identical to that described for detecting micro-leaks in an aquarium.
What is causing water to leak under my window?
Water seeping through the sill is usually the result of an insufficient slope, a silicone sealant cracked by wear, or a lack of essential rejingot to block traffic under the frame. During heavy rain, the water concentrated under the sill finds a way into the masonry, creating the characteristic seepage.
Low water: symptoms and targeted treatment
The low water symptom is manifested by a continuous runoff under the threshold, visible on the lower floor or on the ground floor. To remedy this, an aluminum flap is installed screwed under the sill, creating a recess that diverts the water outwards, without significantly modifying the existing structure. This intervention, in accordance with the rules of the art, guarantees the absence of stagnation and protects the joinery against lateral infiltration.
Drip catcher: invisible protection
Although discreet, the drip breaker is essential. Without it, water follows the underside of the sill and penetrates behind the woodwork. Its replacement, carried out in a few minutes, consists of removing the old profile, cleaning the groove, applying a bead of neutral silicone, then reattaching a new profile. The mechanical fixing with stainless steel screws and the silicone seal ensure its longevity, even in the event of repeated rain.
Insurance: recourse and guarantees
When leaks cause damage to the interior of your home, your comprehensive home insurance policy may apply. The insurance coverage often depends on the cause: if the leak is due to a faulty installation or poor workmanship, the ten-year warranty fully covers the repair work. If the damage results from normal wear and tear of the seals, the insurance will cover the repair, less the excess. To build a solid case, take photographs of the moisture stains, keep repair estimates, and report the damage promptly.
Does my home insurance cover a water leak through the window?
Your insurance generally covers accidental leaks, but coverage depends on the cause. If the leak is due to aging seals, the insurance will pay after applying the excess. In the event of poor installation or workmanship, use the builder's ten-year warranty for full reimbursement of repairs.
Diagnosis and detection: how to act yourself
Before calling a professional, a first-level diagnosis is essential. After a downpour, inspect the junction between the sill and the wall, use a mirror to see the underside of the profile, and apply a soapy mixture to identify micro-cracks. The sight of bubbles or damp areas indicates the source of the leak. A healthy window frame should not allow any drops to pass through; if you observe seepage, the diagnosis is complete.
Repair solutions: from sealing to replacement
Depending on the severity of the problem, you can limit the intervention to local sealing of the silicone joint or plan to completely replace the sill. For a simple repair, cut out the old silicone, clean the groove, apply a bead of neutral silicone and smooth it with a wet finger or a spatula. For a complete replacement, remove the sill, install a new aluminum or PVC profile, check the level of the windows and ensure a correct slope. Adding an additional foam bead temporarily reinforces the seal while waiting for the silicone to fully set.
What seal for window sill?
The ideal sealant is a single-component, neutral silicone, class A+, solvent-free, compatible with stone, concrete and PVC. It must be applied to a clean, dust-free and smoothed surface to ensure long-lasting adhesion.
Preventive measures: maintain to last
To prevent recurrence, schedule annual maintenance: clean gutters to prevent overflows, check the integrity of the drip catcher, inspect the seals on window sills, replace the silicone every five years, and apply a water-repellent treatment to stone sills. These preventative measures comply with industry standards, protect your woodwork, and maintain excellent thermal insulation, saving you from major repair work and preserving the lifespan of your home.
No longer be caught short
A leak under a window sill may seem minor at first glance, but it often reveals poor installation, a poorly designed seal, or the absence of a crucial rejingot. By understanding the infiltration mechanisms, applying technical solutions such as silicone seals, drip guards, a flap, and an absorbent protection kit and by quickly requesting a call from a professional to activate the ten-year guarantee and the charge by the insurance, you ensure the sustainability of your amenities and the security of your home.


Leave a comment
This site is protected by hCaptcha and the hCaptcha Privacy Policy and Terms of Service apply.